Building a walk in cooler is one of the most demanding but rewarding cold-storage projects you can take on. Whether you are supporting a restaurant, a farm operation, a brewery, a floral business, or a serious home setup, a properly built walk-in cooler delivers reliability, food safety, and long-term cost efficiency that standard refrigeration units simply cannot match.
However, a walk in cooler is not just a big refrigerator. It is a controlled thermal environment that depends on insulation science, airflow engineering, electrical planning, and regulatory compliance. This guide walks you through the entire process, from initial planning to final temperature calibration, with the depth and realism required to actually succeed.
Understanding What a Walk In Cooler Really Is
A walk in cooler is a refrigerated room designed to maintain consistent temperatures, typically between 34°F and 38°F, across a much larger volume than reach-in refrigerators. Unlike household or light commercial fridges, walk-in coolers are engineered for frequent door openings, higher thermal loads, and long continuous run times.
What a walk-in cooler is not is a modified room with an air conditioner or a collection of chest freezers. Improvised solutions often fail due to moisture buildup, uneven temperatures, excessive energy consumption, and health code violations. A real walk-in cooler relies on controlled insulation layers, vapor barriers, commercial refrigeration components, and sealed construction.
Understanding this distinction early prevents costly mistakes and unrealistic expectations later in the build.
Planning Your Walk-In Cooler
Planning determines nearly every technical choice that follows. The size of your walk-in cooler should be based not only on current storage needs but also on projected growth and peak usage. Overbuilding slightly is usually cheaper than rebuilding later.
Location is equally critical. Indoor installations benefit from stable ambient temperatures, while outdoor installations must account for heat load, weather exposure, and equipment protection. Ceiling height, door clearance, access paths, and proximity to power sources should all be evaluated before construction begins.
Intended use changes everything. A walk-in cooler for produce storage has different airflow and humidity needs than one used for meat, dairy, beverages, or flowers. Clarifying use cases ensures correct refrigeration sizing and interior layout.
Local Codes, Health Regulations, and Permit Requirements
Many DIY builders underestimate how closely walk-in coolers are regulated. In commercial environments, health departments typically require food-safe surfaces, proper drainage, temperature monitoring, and NSF-approved components. Fire codes may dictate panel materials, electrical conduit types, and emergency release hardware.
Permits are often required for electrical work, refrigeration installation, and structural modifications. Skipping permits can result in fines, forced removal, or denial of insurance claims if something goes wrong.
Even for non-commercial installations, local building codes still apply. Checking requirements early prevents expensive rework and delays.
Choosing Between Modular Panels and Site-Built Construction
There are two primary construction approaches: modular insulated panels or site-built framing with applied insulation.
Modular panel systems are pre-engineered, easier to install, and widely accepted by inspectors. They provide consistent insulation, built-in vapor barriers, and tight seals. The downside is higher upfront cost and less flexibility in custom shapes.
Site-built construction offers more design freedom and lower material costs but demands precision. Improper insulation thickness, misplaced vapor barriers, or poor sealing can lead to condensation, mold, and temperature instability.
For first-time builders or commercial applications, modular panels are usually the safer choice. Experienced builders with strong insulation knowledge may succeed with site-built designs.
Insulation, Vapor Barriers, and Thermal Efficiency Explained
Insulation is the most critical component of a walk-in cooler. Inadequate insulation increases energy costs and shortens equipment life. Typical walk-in coolers require insulation values equivalent to R-25 or higher, depending on climate and usage.
Equally important is the vapor barrier. Moisture naturally moves from warm areas to cold ones. Without a continuous vapor barrier on the warm side of the insulation, condensation will form inside walls and ceilings, leading to rot and mold.
Thermal bridges, such as metal studs or uninsulated fasteners, also reduce efficiency. Proper material selection and installation technique are essential to maintaining stable temperatures.
Selecting the Right Refrigeration System
The refrigeration system must be sized to handle heat load, not just square footage. Heat load calculations account for room size, insulation quality, ambient temperature, door openings, product load, and lighting.
Self-contained systems combine compressor and condenser in one unit and are easier to install but less efficient in hot environments. Remote systems separate components, improving efficiency and noise control but increasing installation complexity.
Choosing the wrong system is one of the most common and expensive mistakes DIY builders make. Undersized systems run constantly and fail early, while oversized systems short-cycle and struggle with humidity control.
Flooring, Doors, and Structural Details That Actually Matter
Floors must support weight, resist moisture, and prevent heat transfer from the ground. Many commercial walk-ins use insulated floors, while others rely on insulated concrete slabs.
Doors are another weak point if chosen poorly. High-quality walk-in cooler doors include insulated cores, magnetic gaskets, self-closing hinges, and interior safety releases. Even small air leaks can significantly impact performance.
Details like corner seals, ceiling joints, and penetrations for wiring or refrigeration lines must be sealed correctly to maintain integrity.
Electrical, Drainage, and Installation Requirements
Walk-in coolers typically require dedicated electrical circuits sized according to equipment specifications. Electrical work often must be performed by licensed professionals.
Condensate drainage is mandatory to remove moisture generated during cooling cycles. Improper drainage leads to water pooling, ice formation, and sanitation issues.
Startup procedures, including pressure checks and temperature calibration, should follow manufacturer guidelines to ensure safe operation.
Step-by-Step Walk-In Cooler Build Process
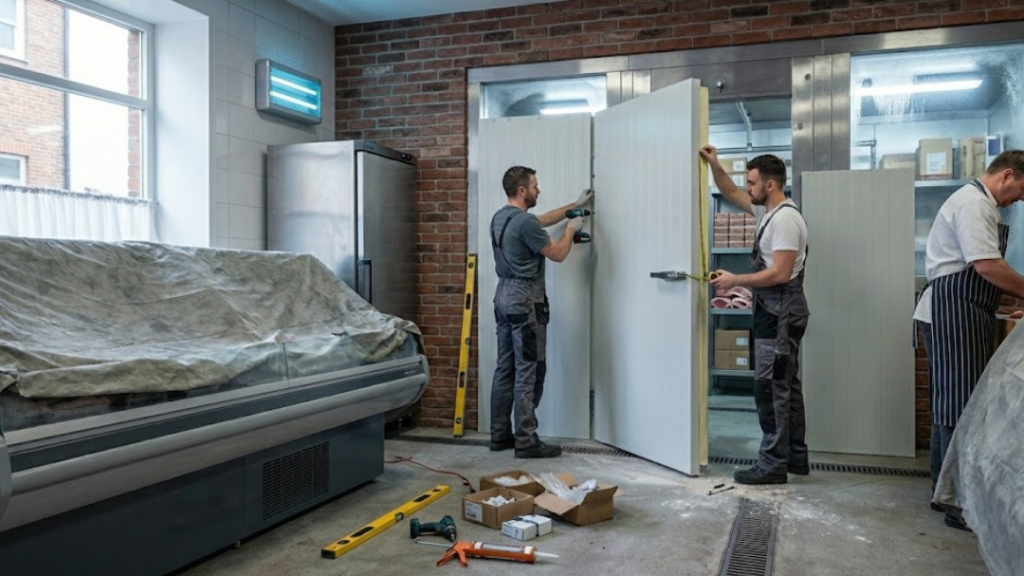
A typical build sequence begins with site preparation and floor installation. Walls or panels are then assembled, followed by ceiling placement and door installation.
Once the structure is sealed, refrigeration components are mounted and connected. Electrical connections and drainage lines are completed next.
After installation, the system is tested, temperatures are stabilized, and performance is monitored over several days to confirm proper operation.
Rushing this process often leads to overlooked sealing issues or calibration errors that cause long-term problems.
Cost Breakdown, Common Mistakes, and Long-Term Maintenance
DIY walk-in cooler costs vary widely. Small builds may start around a few thousand dollars, while larger or commercial-grade installations can exceed tens of thousands.
Common mistakes include underestimating insulation needs, ignoring vapor barriers, choosing incorrect refrigeration capacity, and skipping permits.
Long-term maintenance includes cleaning condensers, checking door seals, monitoring temperatures, and scheduling periodic professional inspections. Proper maintenance dramatically extends equipment life and reduces operating costs.
Pingback: How to Build a Beer Cave - Walk in Cooler DIY
Pingback: How to Build a Walk In Meat Cooler - Walk in Cooler DIY
Pingback: How to Design a Custom Walk-In Cooler for a Restaurant - Walk in Cooler DIY